
Best Robot Accessories
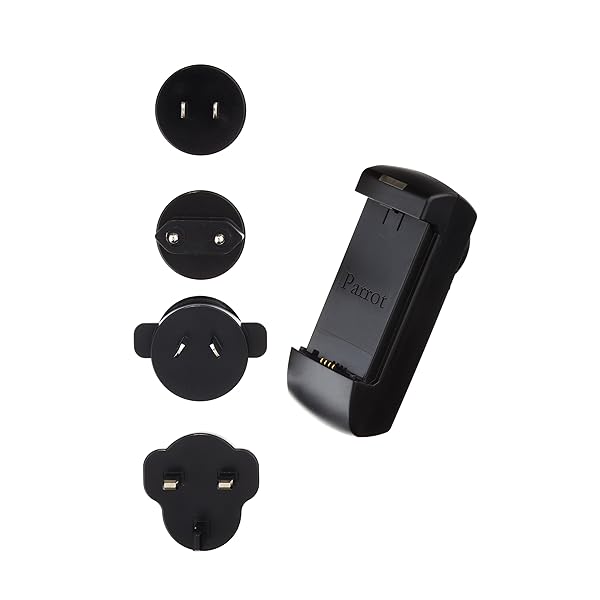
Product Packaging: Standard Packaging. This kit includes.
Reviews
Find Best Price at Amazon"It charges really well but there is a compatibility issue in that this charger does not work with the original battery that had the wire harness charger connection."
"Works perfectly, have it charging the bigger than factory battery right now."
"It is a simple thing to snap the battery into the charger housing and then charge the battery directly on the wall rather than have a separate charge wall wart wired to a charging unitl that then plugs into the battery."
"Works well, actually I wish you could have only sold the adapters separately."
"Welp, it's a charger."
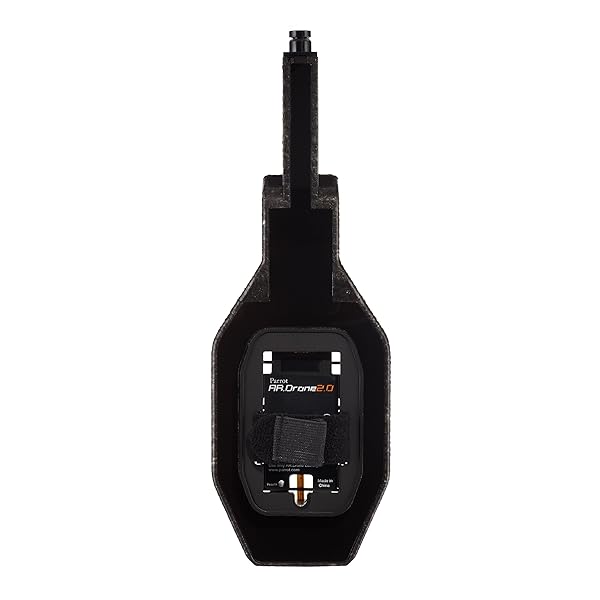
Product Packaging: Standard Packaging. The battery holder is mounted on the main body of the drone with foam that absorbs the motors vibrations.
Reviews
Find Best Price at Amazon"Had 4 10' sections of pvc pipe and finally knocked it out of the tree."
"I crashed and ripped the front camera off my original drone body. Without the front camera, it seems the hover option was inoperative."
"glad to have it back up and running again but the camera is out of focus out of the box and yes I took the sticker off and cleaned it and no improvement!"
"It didn't come with any instructions, and there are no specific instructional videos on their website for this part, but in hindsight it's really little more than the instructions for replacing the central cross mixed with the instructions for the flight controller."
"I need this because my central cross broke in the middle and cut the ribbon cable to the front camera."
"I had to replace the hull because if a bad crash that scratched the main camera lens."
"Brand spanking new and came in a nice package sealed package for electronics."
"Great replacement for rebuilding my AR Drone 2.0 Works as advertised!"
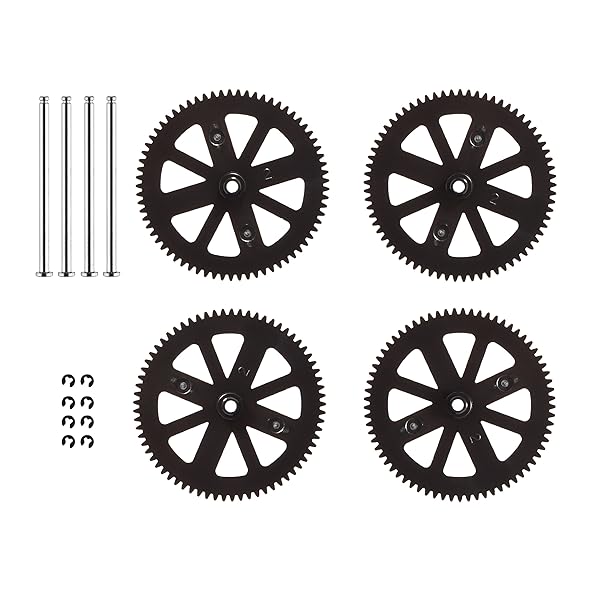
Product Packaging: Standard Packaging. For an easy mounting, a special circlip tool is available in the "mounting tools kit".
Reviews
Find Best Price at Amazon"It survived numerous crashes without so much as a dent in the foam, but the other day it got to a strange angle when coming from a fast forward speed to a sudden stop, and went into angle emergency. It's nice to have the extra gears and such, as I'm sure I'll eventually need them. The nice thing about this set is that I'm going to guess that MOST people aren't going to crash their AR.Drone so hard that they need four gears and four prop shafts all at once, so this purchase should hopefully at least get you through TWO crashes...if not more."
"They changed out very easily using the Parrot tool kit and my Parrot AR Drone 2.0 is flying great again. And I have my own Parrot AR Drone unboxing, reviews and HD footage of my flights on my youtube channel if you search my name Ben7seven7 and look up AR Drone."
"Because the shaft is slightly larger in diameter, the replacement shaft did not fit the replacement bearings that I purchased."
"Good replacements on my Parrot AR2."
"The gears don't go bad as often as the shafts bend."
"In life, you will pay taxes; you will die; and if you own an AR.Drone, you will need the additional gears and shafts."
Best Robot Parts
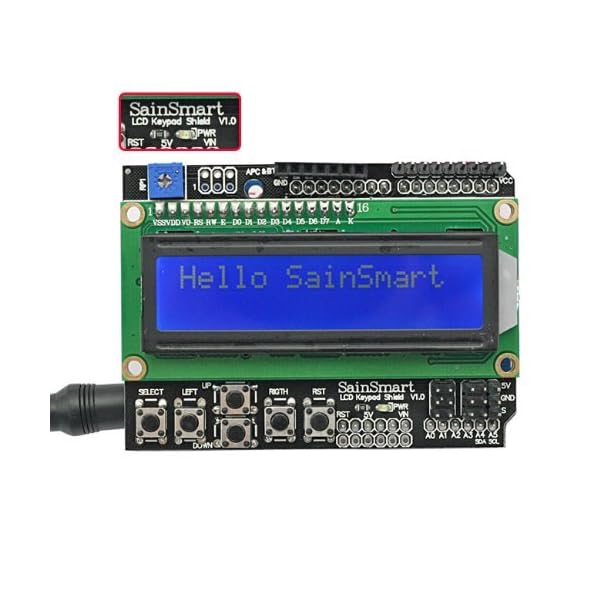
This is a 16x2 LCD Keypad module for Arduino Diecimila Duemilanove, UNO, MEGA1280, MEGA2560 board.
Reviews
Find Best Price at Amazon"lcd.print("Test keys:"); }. void loop() {. // set the cursor to column 0, line 1. // (note: line 1 is the second row, since counting begins with 0): lcd.setCursor(0, 1); adc_key_in = analogRead(0); // read the value from the sensor. key = get_key(adc_key_in); // convert into key press. if (key != oldkey) // if keypress is detected. {. delay(50); // wait for debounce time. adc_key_in = analogRead(0); // read the value from the sensor. key = get_key(adc_key_in); // convert into key press. if (key != oldkey). {. oldkey = key; if (key >=0). {. lcd.print(msgs[key]); }. }. }. }. // Convert ADC value to key number. int get_key(unsigned int input). { int k; for (k = 0; k < NUM_KEYS; k++). {. if (input < adc_key_val[k]). { return k; }. }. if (k >= NUM_KEYS). k = -1; // No valid key pressed. return k; }."
"I'm in a robotics class in my High School where we all use Arduino Uno's and create programs. My only problem was when I went to test it out with one of Arduino's "LiquidCrystal" examples only to find out they don't display on this shield because it has a different hardware setup than Arduino's variant."
"After reading about the design problems with the backlight circuit in other reviews and web info I thought perhaps that was it and I needed to install a resistor and diode. It is excellent if you don't have many pins to work with and are using a separate keypad for input."
"Great display for DIY projects."
"It quit working."
"I have yet to make it work but rated it one star due to the lack of quality control."
Best Robot Platforms
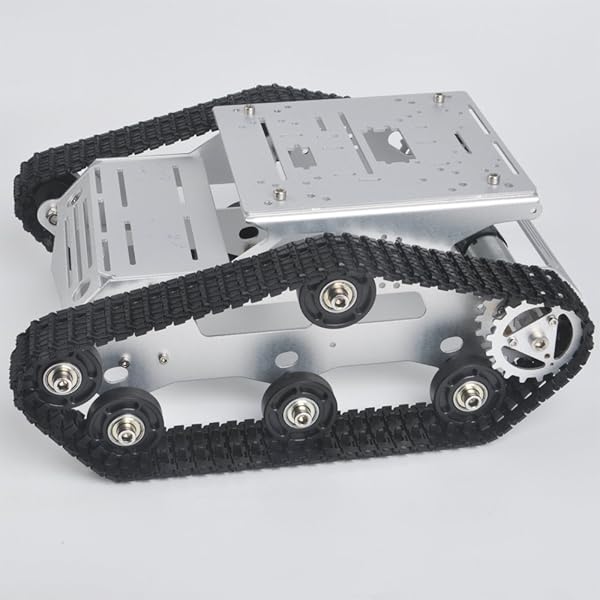
Sample Tutorial: Lesson 1: Install tank car chassis. Lesson 2: Install tank car electronic components. Lesson 3: Control the motor. Lesson 4: Control the Tank Car Through IR Remote. Lesson 5: Tracking Robot Tank Car. Lesson 6: Obstacle Avoidance Robot Tank Car. Lesson 7: Control Robot Tank Car through Wifi and Bluetooth. This product only contains tank chassis.If you are an intermediate player and have time to read our code comments,you can buy the robotic car chassis platform andour tank electronic parts kit,then you can easily customize this robotic tank car to make your own project for science fair, college home work or even commercial applications. The tank car chassis kit comes with a step-by-step tutorial which evolves from a simple car with basic movements to a multi-functional robotic car controlled by mobile APP.
Reviews
Find Best Price at Amazon"I have mine loaded down with a pi ,arduino , custom 4 servo claw ,LCD touchscreen, l298n ,ptz night vision camera, hc05 bt module and a breadboard . Running full range of motion with the arduino , hc05 and Bluetooth app. I have the dc encoder motors running at 12v only using red and black leads and a single $7 l298n motor controller with a pretty small dewalt lithium max battery .it's stepped down to 5v for the arduino and arm servos as well through the same l298n."
"As a result, my car doesn't track in a straight line but veers to the left slightly which will necessitate a speed correction in my Python software to compensate. Finally, it would be really helpful to get more documentation on the hall effect sensors and the circuit used as I had to do some trial and error to get them to work and am not totally sure that I have the optimum setup. Over all though, the car is spacious, has lots of places to mount hardware and the geared motors seem up to the challenge to carry a significant load."